I guess in some ways this sounds like a somewhat weird book. Is it about making vinegar? Is it about all the tricksy things you can do with vinegar about the house? No … The Vinegar Cupboard is all about different vinegars and uses for them in cooking.
It is a beautiful book to look at and has won its author, Angela Clutton, multiple awards and certainly opened my eyes to just how many different types of vinegar there are. I really wanted to have a crack at Clutton’s soda bread recipe (because – bread) – where a mix of milk and vinegar (cider, in this case) acts as a substitute for buttermilk. (And, if you’re not aware, this mix works perfectly well in all sorts of baking if you find buttermilk is not available). However, the library wanting the book back and some super hot weather has stymied me on that front.
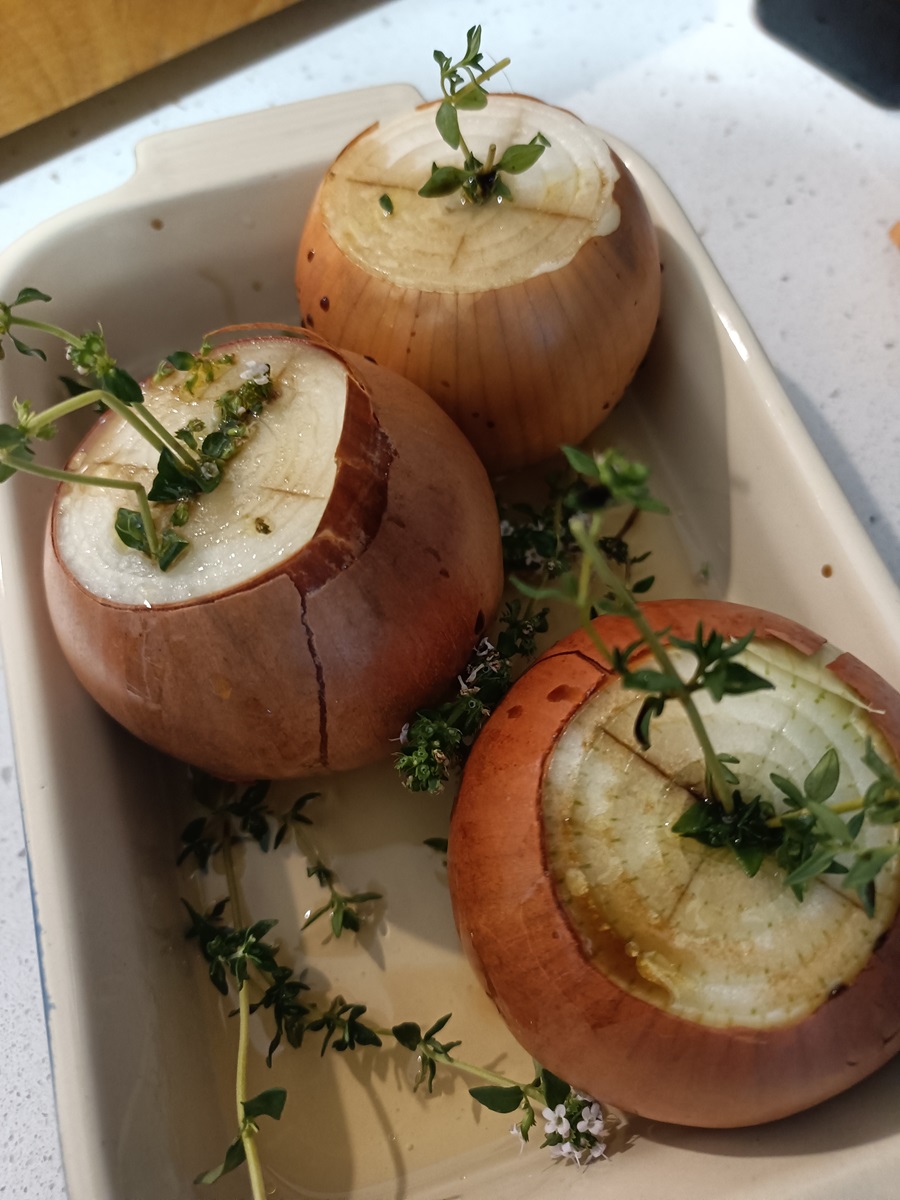
But … never fear as quite a few months ago I had a go at the whole roasted onions. It’s a simple recipe – you take onions, top and tail them (so they are stable) but leave the skin on. Make crosses in the tops of the onions, then, into a pan. Stuff the tops with some fresh time, drizzle over olive oil and balsamic vinegar, season and then carefully add some vermouth or cider to the pan (but this time not over the onions). Cover with foil and bake for about 45 minutes. Then, baste with the pan juices, dot butter on the onions and bake for a further 45 uncovered.
We didn’t nail this first time around – the cooking times were a bit short (maybe we had massive onions) so the centres of our onions were a bit firm. Also – one onion per person is a LOT (maybe those massive onions again!) so I think that it might be a good idea that once they’re cooked, you remove the skins, break the onions down and serve as a side dish rather than a whole entity.
This book is full of interesting recipes and don’t worry about sourcing the more esoteric vinegars, as Clutton provides alternatives.