Very Easy Vanilla Ice Cream

Vanilla ice cream (crop)

Here in Adelaide we sweltered through much of summer. As much as many of us might have complained about the above 40°C days, people were similarly disappointed that we didn’t crack our all time record temperature. I was pretty grateful that that was a record we missed – 46°C is plenty hot enough, thank you very much.

And while temperatures have dropped, and we’re enjoying some almost wintery days, we still have some moderately warm weather ahead of us – and, of course, our friends in the northern hemisphere are all looking forward to summer proper.

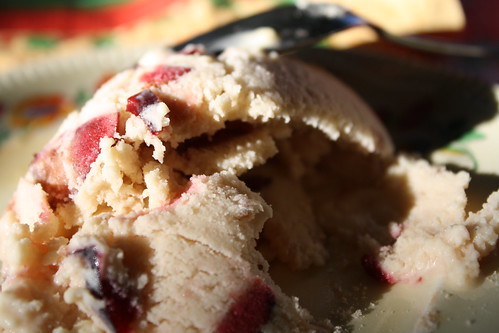
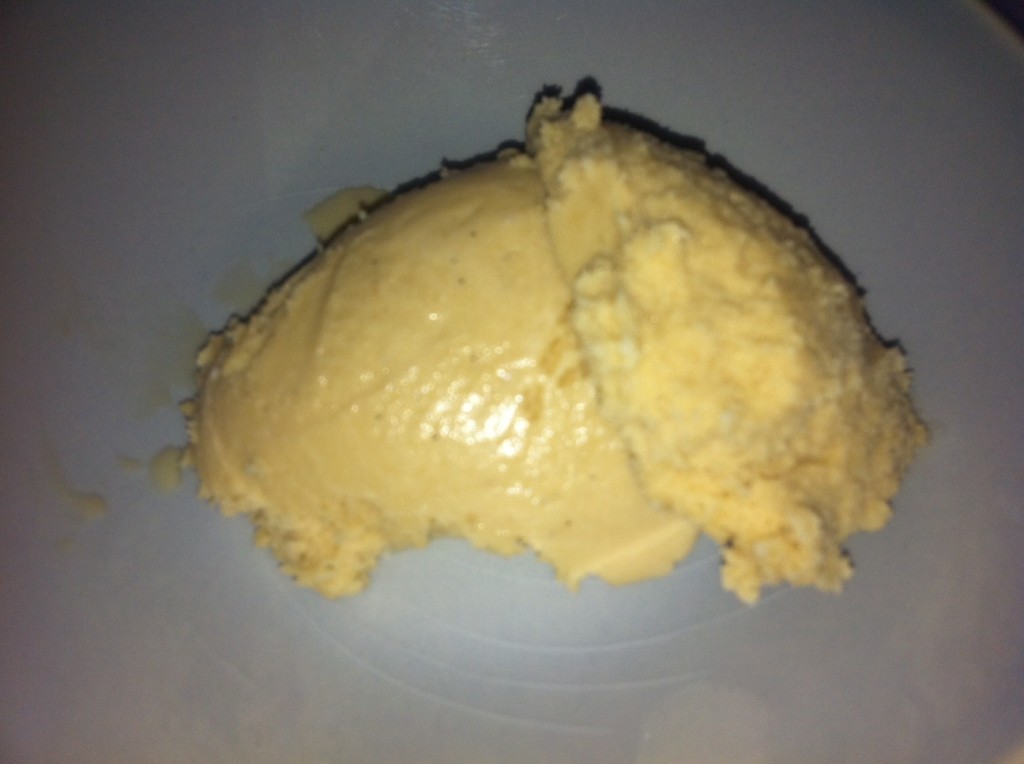
So all of that is justification for just now posting a super simple vanilla ice cream recipe. I first made this back in February to take along to a 4 year old’s birthday party. Funnily enough – there weren’t a great many photo opportunities at that event and, despite making a second batch, I’ve done a really rubbish job of attempting to photograph it. However, I’m willing to bet that pretty much everyone and anyone reading this page knows what vanilla ice cream looks like and doesn’t need eighteen perfectly shot images to remind them!

The great thing about this ice cream is that it is egg free which means that it’s custard free. This means that it is zero hassle to make and anyone who avoids eggs can eat it.

The original recipe comes from the Cuisinart manual that came with my mum’s ice cream maker. This recipe suggests that you will need to whisk the milk and sugar for just a couple of minutes. This is complete nonsense. You really need to whisk the milk and sugar until the sugar has completely dissolved (otherwise you’ll have gritty ice cream – yuck!) and in my experience that probably takes a good 10-15 minutes.

As always with ice cream, making it on a stinking hot day is never a good idea – especially if your ice cream maker relies on a frozen insert.

This is one of the easiest ice cream recipes I’ve come across and, being vanilla, is an absolute crowd pleaser.

Very Easy Vanilla Ice Cream

Ingredients

  • 1 cup (250mL) full cream milk, cold
  • ¾ caster sugar
  • 2 cups (500mL) cream (pure cream is best but thickened cream will do), cold
  • 1-2 tsp vanilla paste to taste

Instructions

  1. Beat the milk and sugar until the sugar is dissolved.
  2. Thoroughly mix through the cream and vanilla paste. If you choose to use a stand mixer, keep the speed on low so that you don't heat the mixture.
  3. Churn in your ice cream maker according to instructions then place in container in freezer for at least a couple of hours.
  4. Makes about a litre.
https://eatingadelaide.com/easy-vanilla-ice-cream/

Cherry Ice Cream Recipe

IMG_2905If you’re in a part of Australia which is currently sweltering (so, pretty much anywhere in Australia, judging by the amount of red on the weather map this morning …) the last thing you’re thinking about is eating, let alone cooking.

But if you are inclined to head to the kitchen, let me suggest this recipe for cherry ice cream. Cherries are in season here in South Australia and, with the run up to Christmas looking warm, I was after something low heat to make for dessert for Christmas day.  I had a look around for cherry ice cream recipes and discovered a few that used the same technique but weren’t based on a custard. In fact, the most complicated thing I was going to have to do was melt some sugar in some cream. On a hot day, even I can manage that. In the end I went with a recipe from Just One Cookbook, because I thought the finished product looked prettier.

Begin by ensuring your ice cream maker is ready to go. If you have one with a built in compressor then lucky you, otherwise make sure your churning bowl has been in the freezer for the right amount of time.

Begin by melting 1 cup of pure cream (for some reason about 99% of cream sold in Australia has thickener in it, avoid that stuff and look for ones marked ‘pure cream’ and even then, double check the list of ingredients!) with 150g caster sugar, a pinch of salt and the seeds and pod of half a vanilla bean. When the sugar has fully dissolved, remove from the heat and add 1 tsp of vanilla extract, another cup of cream and a cup of full cream milk.

Allow the mixture to cool completely. Especially if it’s a hot day, do this in the fridge, although bear in mind that if you are using really good cream, you’ll end up with a cream “crust” which will need to be whisked back into the mixture before churning.

Pit and quarter cherries so that you end up with 2 cups. I don’t have a cherry pitter but if you have really good fresh cherries, this isn’t hard work at all. If it’s not summer where you are, or fresh cherries aren’t available, use very well drained tinned cherries.

Churn in your ice cream maker, following its directions. When the ice cream is almost done, add the cherries and churn again. Don’t freak out when you add the cherries: the mixture is likely to become a lot looser than it was, but it’s not spoiled – you just need to keep on churning.

Once it has all thickened back up, put into a container, seal and put into the freezer overnight. Remove for at least half an hour before serving.

While this ice cream was insanely easy to make and both tasted and looked really good, I wasn’t a huge fan of the texture. Melting the sugar meant it wasn’t gritty but the high fat content, and the sheer volume, of the cream meant it was very grainy which didn’t really work for me. A custard based ice cream (such as the excellent coffee ice cream I made a while back) contains less fat and is much silkier to eat. However, if you’re still getting into your custard groove, or you have cream to use up, or you’re just feeling a bit lazy, this recipe works a treat.

Coffee Ice Cream

Of course, ice cream photographs badly … but I’m sure you get the idea!

A seriously underused cookbook in my collection is The Silver Spoon. This is the Italian cooking bible and covers absolutely everything. If you want to cook it and it’s vaguely Italian … you should find it in The Silver Spoon.

We were having some friends to lunch and, due to a hectic work/life schedule, we needed to choose a menu that could be prepared as much in advance as possible. As it was going to be warm, and our main course was going to be substantial, ice cream sounded like the perfect dessert.

I’m not sure how we decided on coffee ice cream but … decision made The Silver Spoon offered up a simple recipe so I borrowed the ice cream maker from mum and set about it.

Since my family discovered ice cream makers, almost 20 years ago, I haven’t bought commercial ice cream so I can’t be too sure on this point … but I’m willing to bet that a coffee ice cream from the shop will have a lot more than 6 ingredients.

The recipe says this will serve 6 people – in our case, it managed a lot more serves than 6, but in case you have voracious ice cream eaters to hand, let me tell you that it makes about 1L of the finished product.

Begin by scalding* 200mL milk (full fat, of course!) with the seeds that have been scraped from a vanilla pod. Or, if you have a pod left over from last time, just use the pod. Don’t be using vanilla extract/essence or the vanilla bean paste stuff. This is one time where you have to use the real deal.

Allow the milk to cool.

Beat 2 whole eggs with 150g of caster sugar until the mixture is light, fluffy and has expanded. You’re best off doing this with a stand mixer with the whisking attachment – it’ll be quicker and your arm won’t get tired! While beating, add 175mL of cooled extra strong coffee, followed by 200mL of cream (make sure you use pure cream, not the ‘thickened’ stuff) and finally the vanilla milk.

Ensure that everything is well combined and then pour into an ice cream maker and follow the machine’s instructions.

This ice cream doesn’t set super hard which is great because there is no stuffing around when you want to eat some. You can, literally, eat it straight from the container, straight from the freezer (er, we only did that when finishing it off … I promise!). I was a little unsure as to whether or not it was too sweet but everyone else assured me it was fine as it was. And indeed, there is a lovely balance between the bitterness of the coffee, the creaminess of the ice cream and the sweetness.

There are many different ways to put together an ice cream and what impressed me most about this recipe was the speed at which it can be made (I scalded the milk the morning and made the ice cream in the afternoon) and the fact that you’re not making a traditional custard, so you don’t have to worry about anything splitting. If you’ve ever thought about making your own ice cream and been scared for whatever reason: try this recipe!

* Bring the milk to the boil and remove from the heat immediately.