I get a bit annoyed when people go on about pork being dry. It’s only dry if you overcook it.
Modern pork can also be a bit lean (and sometimes it is sold without rind – I’m convinced that’s a sign of the decline of civilisation), and, of course, fat helps keep anything moist.
This excellent way of cooking pork chops comes from Marcus Wareing’s How to Cook the Perfect…. I’m a huge fan of Wareing’s books – I’ve had very few failures and even bothered to make his Gâteau Opéra more than once.
Wareing credits his mum with this recipe. I say, my goodness, these Lancastrians have no fear of fat. If you are on a diet of some sort … don’t bother reading further!
Preheat your oven to 160°C (fan, 180°C conventional).
Take your pork chops – I used three (one each for everyone, including the baby). If they have rind on them, remove it with a sharp knife and keep it for later.
Lay the pork chops in a baking dish that will fit them reasonably snugly. You need a dish with a close fitting lid, or you will need plenty of tin foil. You don’t need to grease the pan.
Cover the chops with finely sliced (brown) onions. For our three chops I used 2 small-medium onions – I would argue in this case that more is better. Grab some fresh thyme and spread it across the onions, a sprinkling of dried sage and then dot generously with unsalted butter.
Now you need to seal it up. As I wouldn’t describe my lid as ‘tight fitting’, I used a layer of tin foil followed by the lid. Cook for an hour and a half (yes, you read that correctly!) and baste with pan juices (butter and fat!) during cooking (I basted every half hour). Always ensure that you lift the lid/foil so that it opens away from you, because it will all be hot!
Erm, that’s it – how easy is that? The chops will look a bit anaemic but they taste fantastic and they are moist! However, this doesn’t reheat well, so I’d recommend only cooking what you need and ensuring you have plenty of sides for topping up extra hungry tummies.
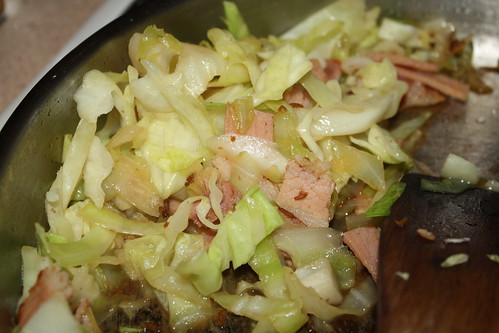
Serve with vegetables – for extra porcine goodness, try my favourite way of dealing with white cabbage!