The Conran Cookbook: Brioche

I’ve decided that I really need to work my way through my collection of cookbooks in some way … and I figure that an easy way to do that is by picking a recipe from each book and making that recipe a bread recipe (if there is one). Because a/ everyone likes to eat bread and b/ it’s very much a known quantity. Bread, once you have the hang of it, is EASY. Please believe me on this. And while it takes time, it’s not time consuming. In general, you whack some stuff together and then let it sit for a bit before maybe a bit of a knead or a bit of a shape, followed by a bit more sit and then a bake.

The first book on the shelf of choice is The Conran Cookbook by Sir Terence & Caroline Conran & Simon Hopkinson – a chef turned food writer for whom I have a great deal of time. My copy, published in 1997, was purchased at Cheshire Oaks, a factory outlet in Cheshire (England), in 2001. My ex-boyfriend’s mother somewhat patronisingly remarked that it was a good choice for someone ‘starting out’ (at the time I was in my twenties and had quite a few years of good cooking under my belt … the comment rankled at the time and rankles still …).

Anyway – this is a solid book if you have limited bookshelf space or budget, because it covers almost EVERYTHING. Each section has an introduction which takes you through skills, glossary and ingredients before offering a range of recipes. It’s the type of book that I find almost always has a recipe for your ingredient or dish of choice. It is quite densely packed and there is not an illustration for every recipe. If you want beautifully laid out and designed and photographed … then you do need to look elsewhere!

Naturally, it does have a bread section and a recipe for brioche which is always a winner in our house and, to be honest, is not something I’ve yet found an entirely satisfactory recipe for. Spoiler alert: the search continues!

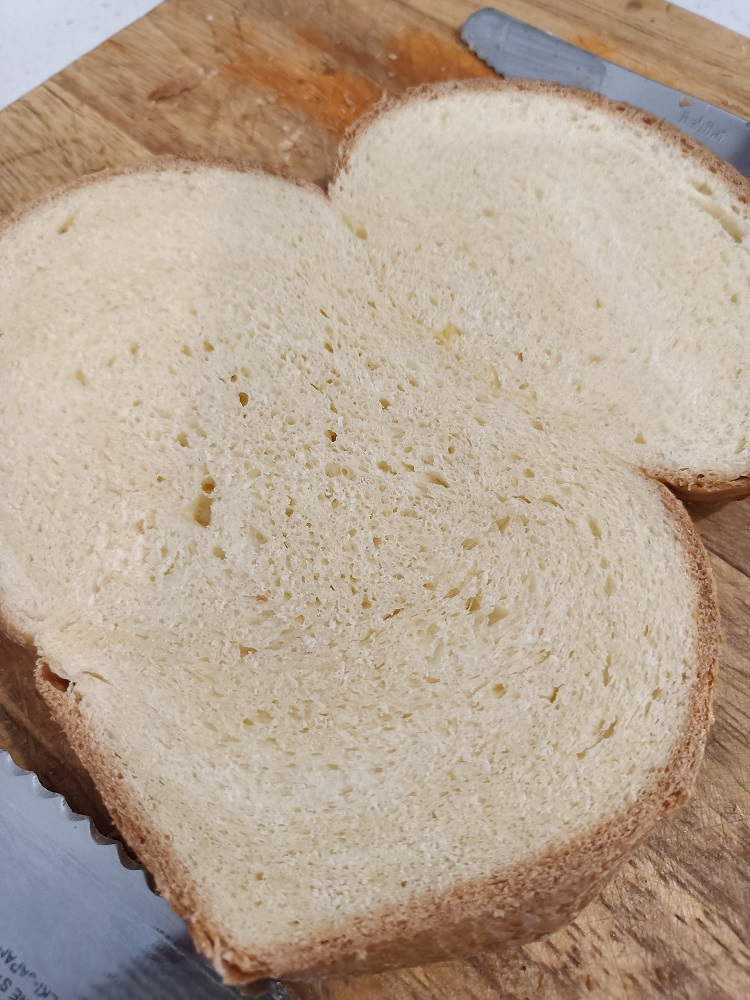
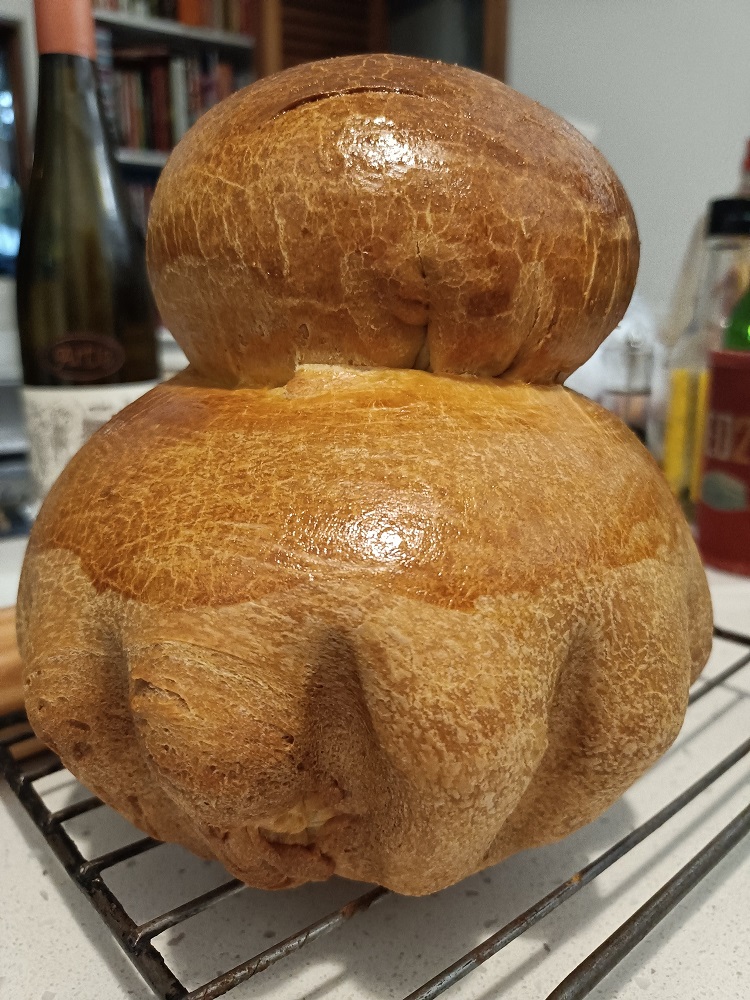
This dough was super super tight (more like pastry) and the finished product had a very close crumb. It tasted good but it was a bit dry (and dried out very quickly – thanks humid weather and fans going non-stop) and had a tendency to be a bit flaky. Doing the first part by hand was a mistake because of the nastiness of the dough. If I were to use this recipe again (I won’t be) I would start off in the stand mixer and add water to get a sensible consistency.

Looks good!

Brioche

Serving Size:
1 large or 2 smaller
Time:
3+ hours (including proving)
Difficulty:
Moderate

Ingredients

  • 1 tsp dried yeast
  • 2 tbsp sugar
  • 4 eggs
  • 5 tbsp milk (room temperature)
  • 2 tsp salt
  • 565g flour (white bread flour – strong)
  • 115g unsalted butter – room temperature (a warm day serves you well!)
  • beaten egg to glaze

Directions

  1. Mix yeast with 5 tbsp luke warm water and 1/2 tsp of the sugar. Leave to become active.
  2. Beat the eggs with milk, salt and sugar in another bowl.
  3. Put the flour in a large bowl, make a well in the centre and add egg mixture and yeast mixture. Mix to a rough dough. The issue I found here is that this is a VERY dry dough – in hindsight it would have been better to add more water at this point to bring everything together. In future, I would also do this stage in the stand mixer.
  4. Once you have a smooth dough, cover and rest for a few minutes.
  5. Now – incorporate the butter. This is messy and takes a while – you definitely need soft, room temperature butter. Flatten the dough out into a rough rectangle, put a few dobs of butter over the surface, then fold up (I tried to use an envelope fold but it doesn’t matter) and then knead to incorporate the butter. Once the butter is incorporated, rinse and repeat, until all butter is incorporated and you have a smooth dough.
  6. At this point, I cracked out the stand mixer to try to bring everything together and get it smooth. For me, this was more like springy pastry than a dough.
  7. Set aside for 1.5 hours.
  8. Knock back and knead. At this point, things were looking better but the dough was still super right.
  9. Set aside for 1.5 hours.
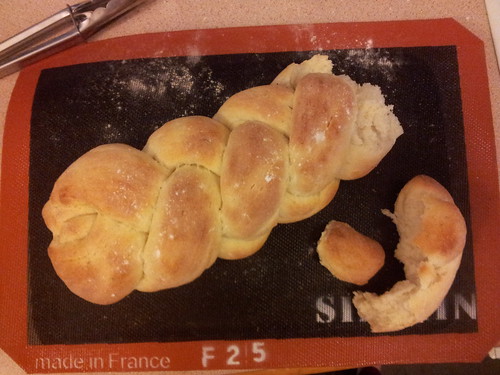
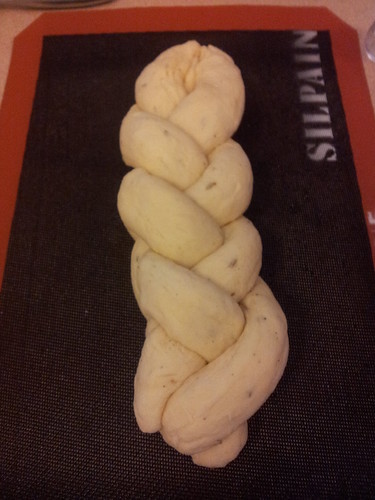
  10. Grease your brioche tin (if you have one) or loaf tin(s). If using a brioche tin, then divide the dough in two unequal part so that you have the little top knot. Shape, pop in tin, cover and leave to prove again (maybe half an hour or so).
  11. Preheat oven to fan bake 180C.
  12. Use the beaten egg for glaze to affix the top knot to the brioche, and to glaze the entire brioche.
  13. Bake for 30-35 minutes, and allow to cool on a rack.
Here’s the less than stellar crumb.

Cheese and Chive Damper

Cheese & Chive Damper

The cooking (and subsequent recipe-blogging) hiatus induced by the kitchen reno has taken a little while to sort itself out. No sooner was the kitchen vaguely finished than summer meant no one felt like eating, let alone cooking. All the while, recipes were piling up – stashed on the internet or literally, piling up as piles of paper on the new kitchen benches …

So it’s more than time to try, and write about, something new. This recipe was cut from a That’s Life and I’m guessing it was around Australia Day as it’s called ‘Chive and Cheese Aussie Damper’. I suspect that ‘Aussie Damper’ is something of an oxymoron, given that damper is uniquely Australian. For those playing along overseas, damper is basically a soda bread and/or like a gigantic savoury scone. Historically, it was made by swagmen in a campfire and these days it is made by intrepid campers in a camp oven.

Or you can just make it in an oven. Like making scones, the trick is to use a light hand and not over-mix or over-knead your dough. One problem I find with breads like this (and scones) is that raising agents (the most common being bicarb which you add to plain flour), can leave a slightly metallic after-taste. In this bread, that is reduced somewhat (but not entirely) by the addition of cheese and chives. I’ve just had a look at the SR flour I used and it has four different raising agents in it – I wonder if I would have been better off using a plain flour and adding baking powder to it …

The other thing with damper is that it really doesn’t keep that well. Think about how well scones keep – they don’t. Damper is similar – eat it straight from the oven with lashings of butter. Unlike leavened bread, it is quite dense but it’s not chewy.

We probably won’t make this again – as Andy said – there are nicer breads to be made! However, if you want a quick bread to knock up and serve to a hungry group you could do far worse. Obviously, if you’re camping it’s definitely worth giving this a go!

(Oh, and if you’re wondering, the silicone mat I use is a silpain – I love it!).

Cheese and Chive Damper

Ingredients

  • 230g self-raising flour
  • 25g unsalted butter, cubed
  • 50g grated cheese (I used a standard tasty/cheddar)
  • chopped fresh chives - at least 2tbsp but to taste really
  • 3/4 cup milk

Instructions

  1. Preheat oven to 160C fan. I used a silpain mat but if you don't have one, line a baking tray with baking paper.
  2. Sift the flour and a pinch of salt into a bowl, add the butter and, using your fingers, rub the butter in until the mixture is like very fine breadcrumbs. No big lumps of butter!
  3. Add the cheese and chives and lightly mix through with your fingers. You want it well combined but you don't want to compact the cheese!
  4. Season - I added pepper but didn't worry about salt as you can sort that out with the butter later!
  5. Make a well in the centre of the mix and add the milk. Using a knife, mix to a soft dough and then tip out on to a lightly floured bench for a quick knead. Shape into a round and transfer to tray.
  6. Using a serrated knife, divide the damper into 6 portions (cut 1cm or so deep).
  7. Brush with milk and bake for 35 minutes or until tapping the base sounds hollow. I checked after 30 minutes and returned to the oven for another 5.
  8. Serve warm with lots of butter!

https://eatingadelaide.com/cheese-chive-damper/

Potato Bread and How to Four Plait

Untitled finished product

At present, we are feeling rather swamped in our crop of home grown Dutch Cream potatoes. So far it is not even a particularly prolific crop (there are still four plants in the ground about which I’m feeling very nervous) but it has produced more potatoes than we can reasonably eat and we are not in possession of a root cellar. If we were, it would be a wine cellar.

Fortunately, I’ve made potato bread before and I thought it would be an opportunity to kill a couple of birds with one stone. The toddler refuses to eat both potatoes and bread (the exceptions being chips in a pub and one type of milk roll that my mum makes). I originally thought that growing and digging up potatoes might enthuse him but it turns out that it has only enthused him in shouting about the “tatoes in the garden” and ferreting about in the soil.

Making the bread dough (using a recipe from The Big Book of Bread) with him was surprisingly difficult. He was excellent at ricing the potatoes but four hands in a mixing bowl (yep, we did this all by hand … the KitchenAid got a break!) made for a lot of flour on the bench and made it very difficult for me to judge how much water we needed to add. And a toddler can shove a surprising amount of part made bread dough in his mouth when you’re not looking. Apparently raw flour, raw dough and everything in between are ripe for ‘tasting’.

It’s surprising then that doing the four plait with his help was actually really easy. While Peppa Pig is inculcating my child with all manner of feminist socialist politics, she’s also taught him all about creating ‘wiggly worms’ so I was able to give him chunks of dough and let him loose.

So – the four plait. We were originally going to make rolls, as I figured that small hands might be able to work with simple knots. However, I decided that I also need to stretch myself just a bit. I enjoyed watching almost all of Masterchef Professionals (UK), including the bread skills test where Monica Galetti set four chefs the task of, amongst others, doing a four plait.

I’ve never done this before but having had long hair almost my entire life I am totally adept at a three plait (in hair, but not shabby when it comes to bread either). So when I say that I found this easy to do – you’ve got your caveat.

Untitled before

I had a look around the internet for written (rather than video) instructions because the thing with plaiting is that you need to know which strand to put where. The instructions at Alchemy in the Kitchen were exactly what I needed.

With plaiting you number the positions of the strands (left to right or right to left doesn’t matter) and then you follow a sequence. You’ll find variations on this but I followed the above which is:

4 over 2
1 over 3
2 over 3

rinse and repeat

You need to make your strands of dough tapered at the ends so that you can tuck them under and make a tidy loaf (note – not what I did!). And you need to keep your plaiting tight so you do need to do a bit of fiddling as you work. The “2 over 3” step is particularly counter intuitive. What this is doing is creating a spine for the rest of the plait to sit on. Keep this in mind and work tight and you’ll be fine!  Though perhaps not up to doing this in front of Monica Galetti …

However, your toddler might still refuse to eat bread and you’ll scoff the lot with plenty of butter in the space of a couple of days …

Potato Bread

Ingredients

  • ~ 350g potato, peeled, cubed, boiled, riced/mashed and cooled
  • 500g flour
  • 2 tsp (7g) dried yeast
  • 2 tsp salt (don't skimp)
  • 35g finely grated parmesan cheese (this doesn't need to be too precise, use more if using a not so strongly flavoured cheese)
  • 1 1/2 tsp fennel seeds (or other herb/seed of your choice - carraway would work well too)
  • freshly ground black pepper
  • ~ 200mL warm water

Instructions

  1. Mix the flour and potato together in a large bowl. Use your hands and incorporate so that the mix is crumbly.
  2. Add the yeast, salt, cheese, seeds and pepper and mix well.
  3. Slowly add the warm water. You may need more or less than the 200mL depending on your flour, so add about half and incorporate well before adding a little more as you need it. You need to bring all the ingredients together in a soft dough.
  4. Tip the dough out onto a lightly floured bench and give it a good keading, until the dough is soft and silky. Lightly grease the dough and return to its bowl. Cover the bowl and leave to rise until roughly doubled in size.
  5. Lightly knead again and, if doing a four plait, divide the dough into four equal portions and form these into ropes that are slightly tapered at both ends.
  6. Plait using the 4 over 2, 1 over 3, 2 over 3 approach. Do the plait on a slightly floured baking tray (or use a siplain (silicone) mat, which you can move onto a baking tray easily later).
  7. If not plaiting, shape into whatever shape you want. Or even make rolls.
  8. Cover and leave to roughly double again.
  9. Preheat oven to 180C fan (200C conventional) and cook for approximately half an hour. Bread should be risen, tanned in colour and should sound hollow when tapped on the base. If making rolls, you'll probably need about 15-20 minutes in the oven.
  10. Leave to cool on a wire rack and gobble down with lashings of butter!

https://eatingadelaide.com/potato-bread-four-plait/