The cooking (and subsequent recipe-blogging) hiatus induced by the kitchen reno has taken a little while to sort itself out. No sooner was the kitchen vaguely finished than summer meant no one felt like eating, let alone cooking. All the while, recipes were piling up – stashed on the internet or literally, piling up as piles of paper on the new kitchen benches …
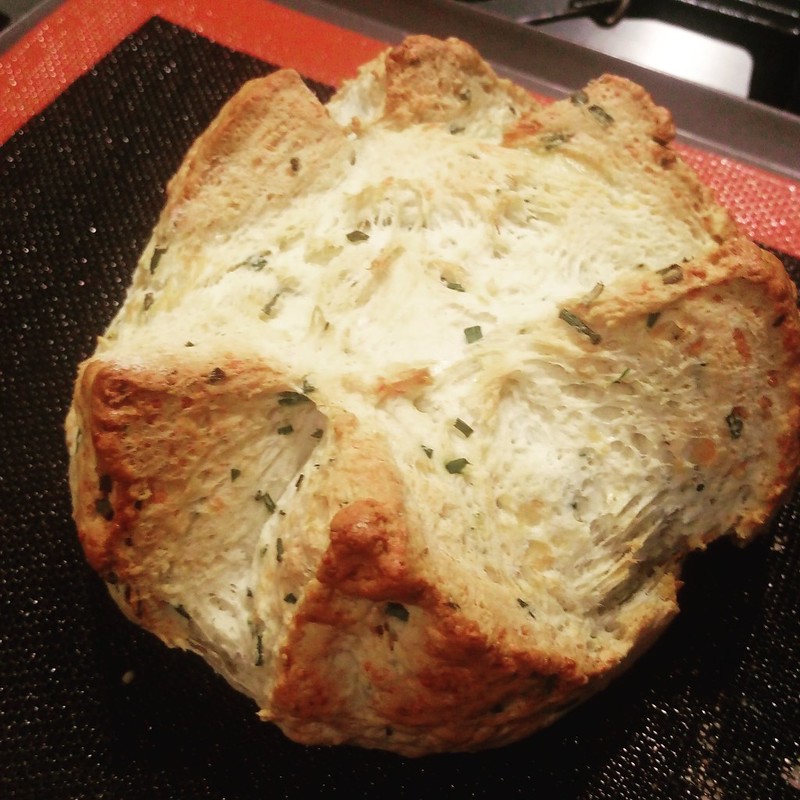
So it’s more than time to try, and write about, something new. This recipe was cut from a That’s Life and I’m guessing it was around Australia Day as it’s called ‘Chive and Cheese Aussie Damper’. I suspect that ‘Aussie Damper’ is something of an oxymoron, given that damper is uniquely Australian. For those playing along overseas, damper is basically a soda bread and/or like a gigantic savoury scone. Historically, it was made by swagmen in a campfire and these days it is made by intrepid campers in a camp oven.
Or you can just make it in an oven. Like making scones, the trick is to use a light hand and not over-mix or over-knead your dough. One problem I find with breads like this (and scones) is that raising agents (the most common being bicarb which you add to plain flour), can leave a slightly metallic after-taste. In this bread, that is reduced somewhat (but not entirely) by the addition of cheese and chives. I’ve just had a look at the SR flour I used and it has four different raising agents in it – I wonder if I would have been better off using a plain flour and adding baking powder to it …
The other thing with damper is that it really doesn’t keep that well. Think about how well scones keep – they don’t. Damper is similar – eat it straight from the oven with lashings of butter. Unlike leavened bread, it is quite dense but it’s not chewy.
We probably won’t make this again – as Andy said – there are nicer breads to be made! However, if you want a quick bread to knock up and serve to a hungry group you could do far worse. Obviously, if you’re camping it’s definitely worth giving this a go!
(Oh, and if you’re wondering, the silicone mat I use is a silpain – I love it!).
Ingredients
- 230g self-raising flour
- 25g unsalted butter, cubed
- 50g grated cheese (I used a standard tasty/cheddar)
- chopped fresh chives - at least 2tbsp but to taste really
- 3/4 cup milk
Instructions
- Preheat oven to 160C fan. I used a silpain mat but if you don't have one, line a baking tray with baking paper.
- Sift the flour and a pinch of salt into a bowl, add the butter and, using your fingers, rub the butter in until the mixture is like very fine breadcrumbs. No big lumps of butter!
- Add the cheese and chives and lightly mix through with your fingers. You want it well combined but you don't want to compact the cheese!
- Season - I added pepper but didn't worry about salt as you can sort that out with the butter later!
- Make a well in the centre of the mix and add the milk. Using a knife, mix to a soft dough and then tip out on to a lightly floured bench for a quick knead. Shape into a round and transfer to tray.
- Using a serrated knife, divide the damper into 6 portions (cut 1cm or so deep).
- Brush with milk and bake for 35 minutes or until tapping the base sounds hollow. I checked after 30 minutes and returned to the oven for another 5.
- Serve warm with lots of butter!
