Almond Biscuits

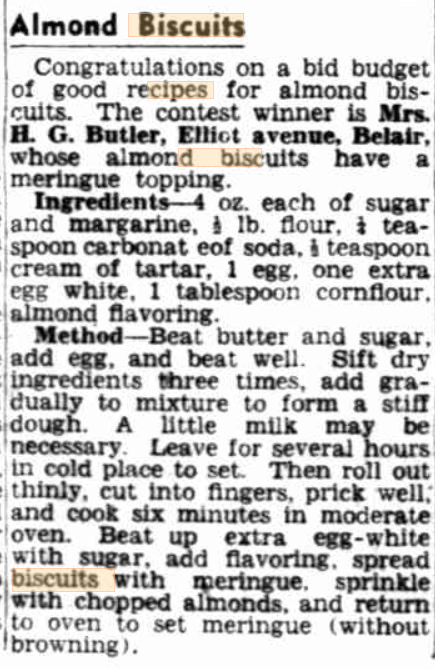
This recipe, found on trove, is a 1947 offering from a Mrs HG Butler of Elliot Avenue, Belair*. It was published in the News on 21 Oct 1947 in the Lend-a-Hand Club section. Apparently a shout-out had been made for almond biscuits and this recipe was deemed the winner.

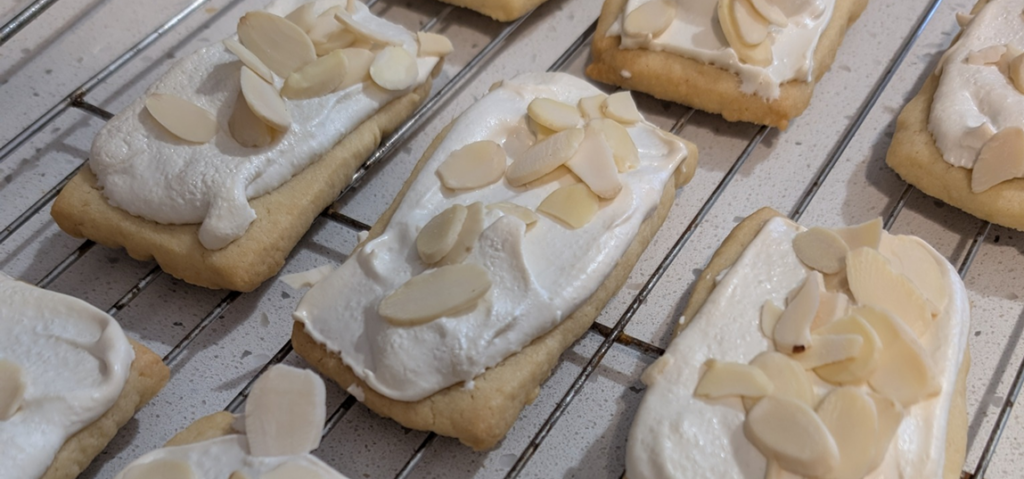
These are something a little different, as the biscuits have a meringue topping. I was sceptical about how well these might keep but it turns out they keep extremely well – although it was only tested for a couple of days in our house … I liked that the biscuits themselves weren’t too sweet and don’t worry about the apparent plainness of the biscuit, because the topping more than compensates.

Being the 1940s, Mrs Butler naturally uses imperial (gasp!) measures and her recipe writing assumes more about the reader than a modern recipe. To that end, I noted what I did so that I can provide you with a more approachable (I hope!) recipe. These are definitely worth a try and, of course, you could top with any nut of your choosing – whether chopped or flaked (l used flaked almonds as I had some).

The cornflour in the meringue was a new one for me (not for the whole rest of the internet apparently) – it helps stabilise the meringue. If you are using the meringue straight away there may be little point.

Serving Size:
About 15 biscuits
Time:
30 mins + chilling time
Difficulty:
Easy

Ingredients

  • 110g caster sugar
  • 110g unsalted butter
  • 220g plain flour
  • 1/4 tsp bicarb
  • 1/2 tsp cream of tartar
  • 1 egg
  • 2 tbsp milk
  • 1 extra egg white
  • 55g caster sugar
  • 1 tbsp cornflour
  • almond essence/flavouring
  • flaked almonds or chopped/flaked nut of your choice

Directions

  1. Cream butter and sugar. This is beating them together to a smooth paste.
  2. Sift the flour, bicarb and cream of tartar. If you are making this all by hand, then sift 3x, but if you’re using a stand mixer or food processor you can get away with one sift (or, indeed, one).
  3. Beat the dry ingredients with the creamed butter and sugar and add the egg.
  4. If the mixture is very stiff, add the milk as needed. The dough should be quite firm though.
  5. Wrap the dough in floured cling film and put in the fridge for at least half an hour. You need to tread the fine ground between chilling so the biscuits are easy to cut and not over chilling so the dough is difficult to roll out. A good alternative is to roll into a cylinder as you can then slice off biscuits.
  6. Preheat oven to 160C fan bake. Line a baking tray with baking paper.
  7. Once the dough is chilled, roll out thinly and cut into biscuits. I cut into roughly 8cm x 5cm biscuits and it made 15. You do want the biscuits to be quite thin.
  8. Bake the biscuits for 10-15 minutes. Keep an eye on them – you don’t want them to burn and you need to accept some wriggle room here based on how thinly you’ve rolled them and your oven’s idiosyncrasies.
  9. While the biscuits are baking, make the meringue. Whisk the egg white to soft peaks and then slowly whisk in the caster sugar, 1 tbsp at a time, ensuring it is well combined before adding the next. The mixture should be stiff and glossy. Add the cornflour (still whisking) and a little almond extract – no more than a splash! (Almond extract is super potent – so we are literally talking 1/4 tsp no more, otherwise your meringue will taste like marzipan.
  10. Turn the oven down to 120C.
  11. Spread the meringue on the cooled biscuits and top with the nuts and return to the oven to set the meringue. This may take up to 15 minutes and again, depending on your oven, you might want to keep an eye on things as you don’t want the meringue to pick up much/if any colour.

* If you’re interested, a search of trove for butler “elliot avenue” belair shows that Mr & Mrs HG Butler were married in in 1921 in the Glanville Methodist Church.

How To: Meringue

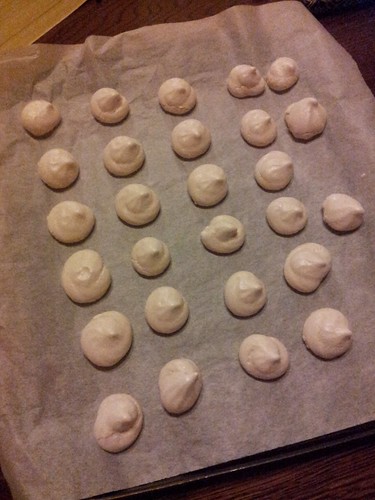
Mini Meringues

I’m surprised but it seems as though I’ve never posted a basic meringue recipe. This is very remiss of me, because, if you’re anything like me you’ll often find yourself with a rogue egg white that needs using up. Perhaps after you’ve made pastry for a quiche lorraine, for example!

Before a ‘recipe’ (such as it is) some notes on egg whites and meringue making in general.

Fresh is best. Don’t use an ancient egg, and don’t use an egg white that has been hanging around in the fridge for a week. However, egg whites freeze really well. If you don’t think you’ll be able to use it up quickly, simply put it in a clean container and freeze. Egg whites defrost quickly and they’re as good as new.

If you can use an egg white that’s at room temperature, that’s better still.

Fat is your (meringue’s) enemy. Freezing the egg white? Use a scrupulously clean container. Cracking it into a bowl or ramekin? Scrupulously clean. The bowl you’ll be beating it in? Scrupulously clean.

I cannot emphasise that enough. NO FAT.

The recipe below scales up easily and, with just two ingredients, there’s no excuse for not giving it a try.

The real question is … should a meringue be gooey in the centre or crisp the whole way through?!

Basic Meringue Recipe

Ingredients

  • 1 egg white
  • 55g caster sugar

Instructions

  1. Preheat your oven to 100°C (conventional). If you're in a bit of a hurry about 140°C is as hot as you want to go. If you are cranking up the temperature, you'll need to keep a close eye on the meringues to make sure they're not taking on too much colour.
  2. Alternatively, cook something like a cake and turn off the oven. Leave the meringues in as the oven cools - even overnight.
  3. Beat the egg white until quite stiff. The stiffer it is, the glossier and firmer your meringue mix will be and the easier it will be to manipulate.
  4. When the egg whites are stiff, add the caster sugar slowly while you continue to beat. If this is your first time making meringue, add the sugar a tablespoon at a time. Otherwise, use your cooking wisdom to guide you.
  5. Ensure the sugar is really well beaten into the egg white. The mix should be smooth and glossy and not at all grainy.
  6. If you wish to make mini meringues (the best type for cheeky tea time treats!), scope the mixture into a piping bag fitted with a wide, fluted nozzle. Pipe the meringues on to a baking tray lined with baking paper.
  7. Of course, you can make any shape or size you want: using a teaspoon or a tablespoon works just as well, even if the finished product isn't quite as dainty.
  8. Cook in the low oven until dried out and crisp.

https://eatingadelaide.com/meringue/

Pavlova

IMG_2904

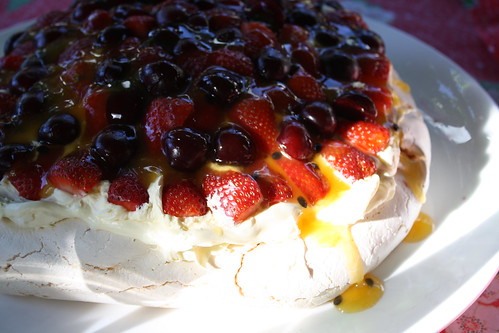
No arguments today about whether the pav is Australian or Kiwi but I think I can posit that it’s a quintessentially Australian summer dish, found on tables from Christmas onwards.

Another dessert contribution at our Christmas meal, I liked the idea that it was something I could prep in advance and wouldn’t require huge amounts of oven heat. Mum almost always has egg whites in the freezer (they freeze brilliantly, last for ages and work perfectly once defrosted) so she donated 5 egg whites and instructed that “well, I always use Stephanie’s recipe”.

My idea was to do my usual 1 egg white, 55g of caster sugar mix (that’s thanks to Gordon Ramsay) but mum looked a bit doubtful and went on about Stephanie Alexander (again). Had it not been for Jules writing about meringues and the key to a chewy meringue being corn flour, I might have ignored both mum and Stephanie, but she did, so I duly noted the recipe from The Cook’s Companion.

Stephanie’s recipe uses 4 egg whites and 250g caster sugar, which I think is too much per egg white. So I scaled back and for my 5 egg whites I used 275g of caster sugar. I guess if you like things sweet, use more sugar!

Begin by heating the oven to 180°C (conventional) and draw a 20 cm diameter circle on a piece of baking paper. Get a very very clean bowl (grease of any type is your enemy here – make sure whatever you use is clean and dry) and whisk your egg whites, with a pinch of salt, to soft peaks before slowly adding the caster sugar. Whisk until your meringue mix is stiff and glossy. Naturally, for this part I was using my stand mixer, and I was ably assisted by my toddler (who, I suspect, thought we should have spent all afternoon adding mounds of sugar …).

This is where I’d normally stop and consider job done. However, Stephanie’s recipe calls for sprinkling over ~ 2 tsp corn flour, 1 tsp white wine vinegar and a few drops of vanilla extract. I didn’t bother scaling these small quantities up. You then fold these into the mix (gently, gently – you don’t want to knock out air!) and then mound the meringue onto your reversed baking paper, following your traced outline. Use a few dobs of meringue to hold the baking paper to the tray.

Place in the oven (which is at 180°C) and immediately reduce the heat to 150°C and cook for about 1¼ hours. Then turn the oven off and leave the meringue in until it’s all cool.

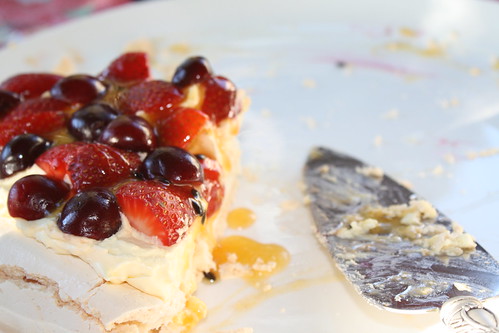
When you’re ready to serve, whisk ~ 300mL pure cream and arrange your choice of fruit on top. I used strawberries and halved cherries. I finished with some passionfruit pulp in syrup (I had to buy this last minute in a tin at the supermarket which is actually a really handy way of doing it): this adds some much needed acidity and also gives the pav and fruit a lovely glossy finish.

IMG_2900

This served 9 people easily, and there was a little bit left over too. And as pavlova has fruit on it, it’s kind of like health food …