Disclaimer: Sunbeam sent me a Pie Magic Family pie maker to test out.
Like all good northern men, Andy is really into pies. He holds very strong opinions about pies too – mostly around how much pastry has to be involved (bottom and top). So when Sunbeam asked me if I’d like to try one of their new additions to the Pie Magic range, I figured that domestic harmony demanded the answer be yes.
Now – once upon a time, I worked as a sales assistant in the electrical department of a major department store. I started in “small electrical” (before graduating to hi-fi) so I have seen (and quite possibly owned) every kitchen gadget under the sun. At the age of 20 (ish) you see a pie maker and think “who the hell needs that?”. That was actually also the response I got when I posted a photo of my newly arrived Pie Magic to Twitter/Instagram.
I know you can buy pie tin(s) and make pies in your oven. And we do that relatively often. My main complaint with this process is the time and energy that it takes. You have to preheat the oven and we find the pie spends a good 40 minutes minimum cooking. And even then, I confess, often the pastry on the bottom is a little soggy. When I read that the Pie Magic was going to deliver me pie in 15-20 minutes that was when I thought we might be on to something.
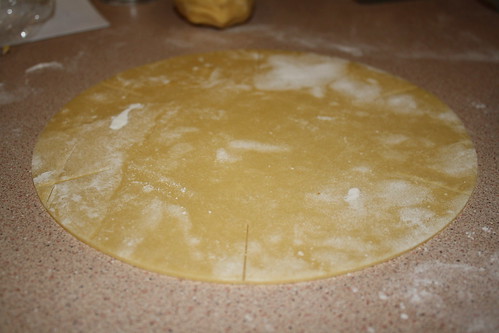
The Pie Magic Family makes a single, family size pie. It’s a bit bigger than your average toastie machine, so it doesn’t take up too much space. Naturally, there’s a cord tidy, so it’s also easy to store. It comes with a big spatula for getting your pie out and also a pastry cutter. The pastry cutter is one of those simple things that probably took a fair bit of thought to get right. One side cuts the pastry for the base, including slits so that it fits nicely. And the other side cuts the top. Which way round is marked.
 base – perfectly sized, with slits to ensure it fits the pie maker snugly
Being non stick everything, there’s no need to grease the Pie Magic. You do, however, need to get it heated up before you start putting your pastry in. Carefully line the base, fill with cooled pie filling, and put on the lid. Not required: water to create the seal, egg wash, hand crimping. Just shut the Pie Magic and wait 15 to 18 minutes.
Andy was a bit sceptical at this point – the lid didn’t look like it was going to be big enough to create a decent seal. He was also complaining about the lack of egg wash – would the pie be golden?
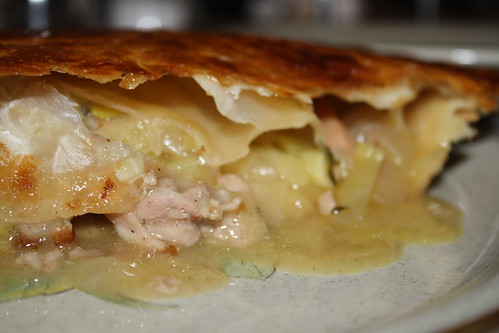
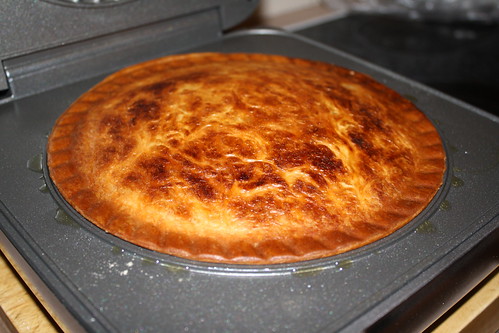
We actually waited 20 minutes, because our pie mixture had come straight from the fridge, and because of concerns about the colour of the top. As you can see – no problems with colour at all. The pastry was all cooked and the filling was piping hot. Everyone was happy.
When it came to getting the pie out Andy was worried that the lid would come off (see, I said he took pies seriously) but the broad spatula and a bit of patience meant that the pie slid out and on to a plate easily and in one piece.
We used home made shortcrust pastry on the bottom and bought puff pastry on top. However, because the Pie Magic closes on the pie you won’t get a puffed up top like you do in the oven – so next time we use it I’m going to try to convince Andy to use shortcrust for the top too.
 finished product ready to be devoured
Obviously you can use the Pie Magic for both savoury and sweet pies, and you can also use it for reheating pies. The instruction manual also contains a good selection of recipes most of which are extremely easy.
This is definitely one kitchen toy which is going to get a hammering in our household. It cut down pie making time and hassle by a noticeable amount.
So who needs a pie maker? Actually, it turns out, pretty much anyone who likes eating pie!
Top tip: clean the Pie Magic while it’s still warm. All it will need is a wipe down with a hot soapy cloth.

