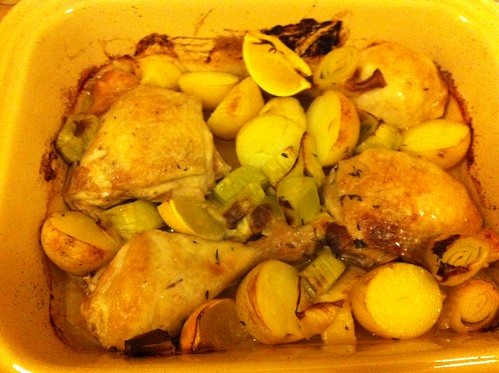
 photo by Tahir Hashmi
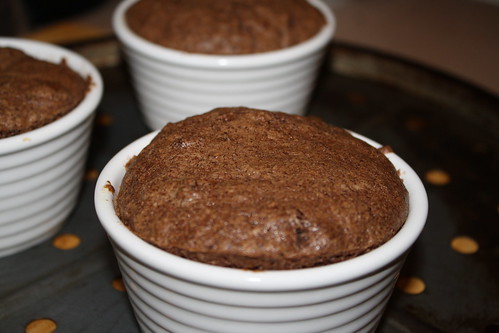
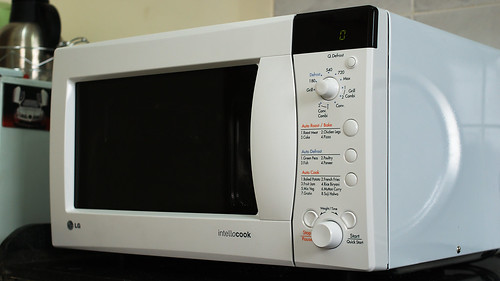
So we all know that a microwave is awesome for reheating leftovers – and that’s what most microwaves are mostly used for. There are other popular hacks: cooking bacon or scrambled eggs, melting chocolate (I couldn’t live without that one!) and, of course, popping corn (don’t believe the marketing types who want to sell you a special bag).
On Wednesday night I was chatting to Peter Godfrey about using the microwave and in my research I came up with some much less well known uses.
I haven’t tried any of these out yet but as I do I’ll link from this page to the results of my experiments.
Drying fresh herbs
Pop the leaves between sheets of kitchen towel and microwave on high for a minute. If they’re not yet dry, repeat in 20-30 second bursts.
Homemade chips/crisps
Finely slice the potato (use a mandolin if you have one) and arrange on a microwave safe plate. Microwave for around 5 minutes – but keep an eye on them because this really depends on how thickly (or thinly!) they’re cut.
Again – using a piece of kitchen towel will help absorb the moisture.
Roasting garlic
Cut the top off a head of garlic, place in a deep microwave safe dish, drizzle with a little oil and add a couple of tablespoons of water to the dish. Cover (if using cling film ensure it’s microwave safe!) and microwave on mid power for 7-8 minutes.
A lot easier than the best part of an hour in the oven!
Proving bread dough
Place your dough in the microwave, with a cup of water (not in the same container, obviously!), and microwave on mid heat for 3 minutes. Rest for 3 minutes. Microwave for another 3 minutes and then cover and rest for 5-10 minutes.
If this really works (and I will definitely verify this one for you!) it will be a massive boon during the cold weather!
Cooking pappadums
Cooking pappadums in hot oil on the stove is hard, dirty work. And even though in theory it’s not too unhealthy (the oil is so hot it’s not absorbed) I’m not convinced.
You can microwave pappadums easily. Place a pappadum on a piece of kitchen towel and zap on high. You need to keep an eye on this and turn the pappadum over. The time required varies with size and thickness.
If you fancy a bit of grease, before microwaving brush the pappadum, on both sides, with a little oil or melted ghee.
So that’s my pick of the microwave hacks. Have you tried any of these? Or do you have a favourite that I’ve missed out?