Coffee Ice Cream

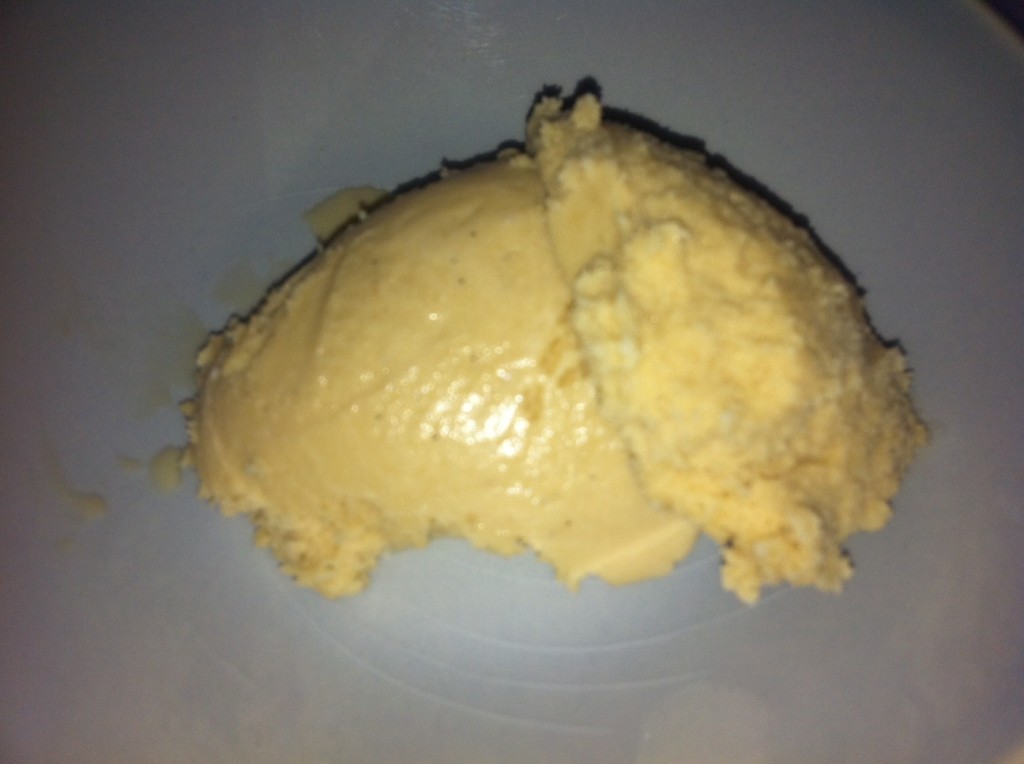
Of course, ice cream photographs badly … but I’m sure you get the idea!

A seriously underused cookbook in my collection is The Silver Spoon. This is the Italian cooking bible and covers absolutely everything. If you want to cook it and it’s vaguely Italian … you should find it in The Silver Spoon.

We were having some friends to lunch and, due to a hectic work/life schedule, we needed to choose a menu that could be prepared as much in advance as possible. As it was going to be warm, and our main course was going to be substantial, ice cream sounded like the perfect dessert.

I’m not sure how we decided on coffee ice cream but … decision made The Silver Spoon offered up a simple recipe so I borrowed the ice cream maker from mum and set about it.

Since my family discovered ice cream makers, almost 20 years ago, I haven’t bought commercial ice cream so I can’t be too sure on this point … but I’m willing to bet that a coffee ice cream from the shop will have a lot more than 6 ingredients.

The recipe says this will serve 6 people – in our case, it managed a lot more serves than 6, but in case you have voracious ice cream eaters to hand, let me tell you that it makes about 1L of the finished product.

Begin by scalding* 200mL milk (full fat, of course!) with the seeds that have been scraped from a vanilla pod. Or, if you have a pod left over from last time, just use the pod. Don’t be using vanilla extract/essence or the vanilla bean paste stuff. This is one time where you have to use the real deal.

Allow the milk to cool.

Beat 2 whole eggs with 150g of caster sugar until the mixture is light, fluffy and has expanded. You’re best off doing this with a stand mixer with the whisking attachment – it’ll be quicker and your arm won’t get tired! While beating, add 175mL of cooled extra strong coffee, followed by 200mL of cream (make sure you use pure cream, not the ‘thickened’ stuff) and finally the vanilla milk.

Ensure that everything is well combined and then pour into an ice cream maker and follow the machine’s instructions.

This ice cream doesn’t set super hard which is great because there is no stuffing around when you want to eat some. You can, literally, eat it straight from the container, straight from the freezer (er, we only did that when finishing it off … I promise!). I was a little unsure as to whether or not it was too sweet but everyone else assured me it was fine as it was. And indeed, there is a lovely balance between the bitterness of the coffee, the creaminess of the ice cream and the sweetness.

There are many different ways to put together an ice cream and what impressed me most about this recipe was the speed at which it can be made (I scalded the milk the morning and made the ice cream in the afternoon) and the fact that you’re not making a traditional custard, so you don’t have to worry about anything splitting. If you’ve ever thought about making your own ice cream and been scared for whatever reason: try this recipe!

* Bring the milk to the boil and remove from the heat immediately.

Beef and Beer Stew

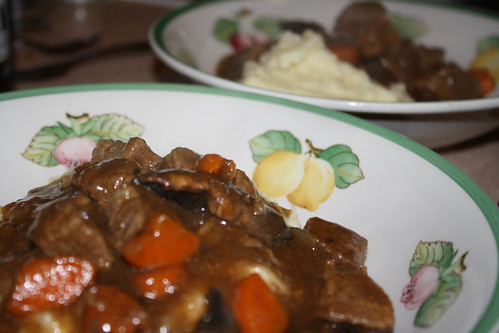
Beef and Ale Stew

Well, Adelaide’s cool weather appears to have disappeared for a while, but our friends in the northern hemisphere are freezing their little tootsies off, so at least some readers should have an immediate use for this recipe. The rest of us can save it up until the next cool snap.

As you may have gathered, I have loads of cookbooks and while they’ve all been read they have not necessarily all been cooked from, and even those that have are not used on as regular basis as they could be. Phil Vickery’s Britain: The Cookbook was a gift (if you ever give me a book as a gift, please do write in it!) that has been utterly neglected.

I chose this recipe for several reasons – it looked hearty, it looked simple and it was in the Beer chapter, which Vickery bases around the beers of the Shepherd Neame brewery in Kent. I lived in Rochester, Kent for 9 months and it was while living there that I developed my taste for real ale and went to my first beer festival. I have a soft spot for all things Kentish, bar Morris dancing.

This recipe is perfect for those of you who have a small person (or persons) underfoot because it is so quick to assemble. Like all stews, it requires time on the stove so you won’t be able to knock it up in half an hour for dinner. Make it on a Sunday and save it up for a mid week supper.

The quantities that follow (altered slightly from the book) served 2 adults for dinner (one had a generous second helping), a small person for two meals and also had enough left over for one lunch.

Take a big pan, place it on the stove and add approximately 500g of diced beef (I used diced blade, the book suggests chuck steak). Have some faith at this point because you are NOT going to brown the meat.

Keep on adding … some stock (I used one of those little stock pots, use stock paste, use a stock cube … you get the idea), 300mL water, a small (330mL) bottle of lager (I used Bitburger because that’s what was in the house – if you can get your hands on a real winter ale, that’s what you should use!), 2 carrots, peeled and chopped, 1 large onion, peeled and finely sliced and 2 tbsp of tomato purée. Add plenty of salt and pepper, give it all a good mix and bring to the boil. Once the mix is boiling, reduce the heat and cook at almost a simmer for 2 or so hours. DON’T cook it too vigorously or the meat will dry out and toughen up.

While all this simmering is going on, preheat the grill and grill 4 large Swiss Brown mushrooms. You want to help them dry out so grill them on one side for a bit and then turn them over. You may need to lightly brush them with oil (if your grill pan has not just been used for cooking bacon!). Cut the grilled mushrooms into thick slices and stir into the stew.

Finish the stew by making a beurre manié: a mixture of softened butter (don’t forget, a quick blast in the microwave will help you here!) and plain flour.

That, seriously, is it.

I was really worried – no browning of the meat, no herbs or spices … I thought it would be tasteless and nasty. Which just goes to show how wrong I was! It was delicious, hearty and solved a good few meal problems. As Vickery suggests, we served with plenty of mashed potato and some roasted parsnips.

Yet again, proof that you don’t need to throw everything in the cupboard into the pot to make a tasty meal!

Nigella’s Chocolate Nut Bar

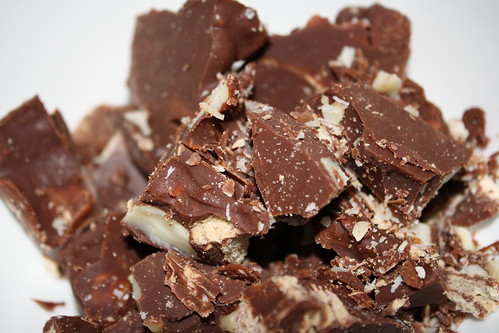
Nigella Lawson's Chocolate Nut Thing

Normally, when I go to a lunch or dinner at a friend’s house I take some chocolate brownies. But it has been so hot here in Adelaide that there was no way I was putting on the oven. No way at all.

I don’t really do a lot of no-bake desserts so I was at a bit of a loss, until I was around at my parents’ house and my dad had made some sort of peanut-chocolate-biscuit bar thing that he’d seen on a Nigella Lawson program on TV (I don’t know which one – whatever is on TV at the moment … does anyone know?!).

Of course, being dad he had changed things and me, being me and hating peanuts and all (seriously – they’re not even NUTS – that really winds me up) a few things had to change further. I had a search around the internet and found a few recipes and had a discussion with him about what he had done and not done and I was ready to go.

Begin by melting 200g of dark chilli chocolate with 90g of salted butter and 1 tbsp of golden syrup. If you’re looking for speed here, you’ll do that in the microwave! And my top golden syrup hint is to coat your spoon in a flavourless oil (I used peanut) – that way the syrup will slide off effortlessly and you won’t have a sticky mess to clean up.

Once the chocolate is melted, stir in a generous pinch of salt. I used ½ tsp which, with the salted butter, might be a tad too much for some (it makes the finished product very moreish, I have to say). Then mix in about 150g of roughly chopped nuts (I used raw macadamias, my dad is on to using hazelnuts and I think brazils would work a treat too – so use your favourite nut). Finally stir in 170g of chopped KitKat. Here again, I used this because I love KitKats and 170g is the size of the big bar you can buy. I used the milk KitKat but my dad maintains you have to use the dark. But use your favourite chocolate bar – because a Violet Crumble mixed through it would be awesome too!

Grab a baking tray, cover it with baking paper, spread the chocolate mixture over it and pop in the fridge for at least 4 hours – preferably overnight. If the weather’s stupidly hot, a quick sojourn in the freezer won’t do it any harm (particularly if you have to transport it).

Once it’s set, cut or break into bite size pieces and enjoy.  Aside from the setting time, this is really quick and painless to make – if it’s late at night and you need to make something for a shindig the next day … this is it!